Very quick walkthrough on how to integrate NSX-T and Workspace One Access (VIDM) This allows workspace one to create a OAuth connection with NSX-T where you can control user access via Active directory and instead of trying to manage local accounts.
Logon to NSX-T manager > System
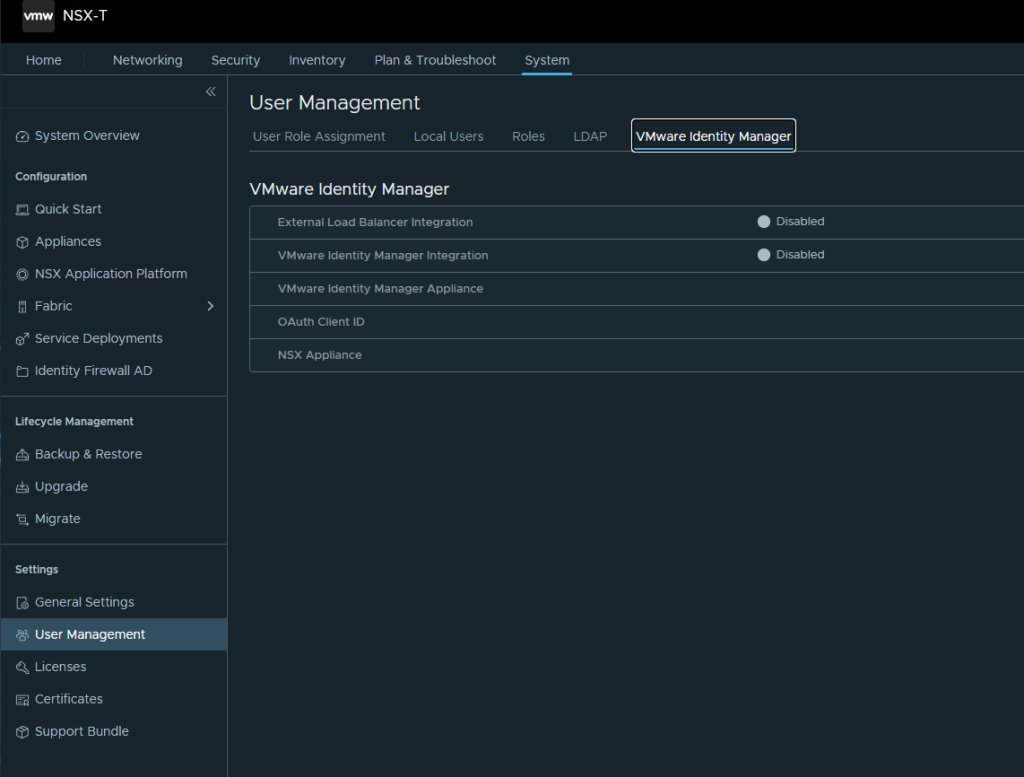
settings > user management
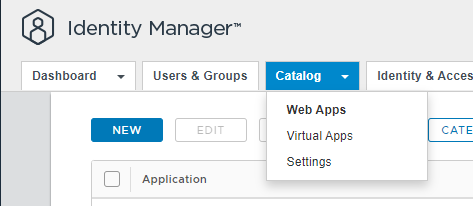
Then Login into Workspace One Access >Catalog >Settings
Go to Remote App Access > Click on Create Client
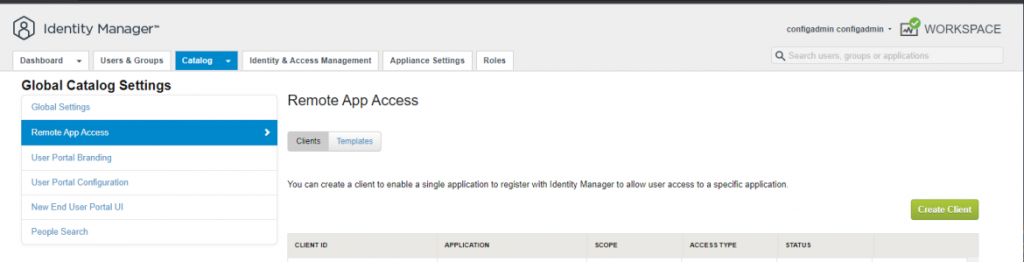
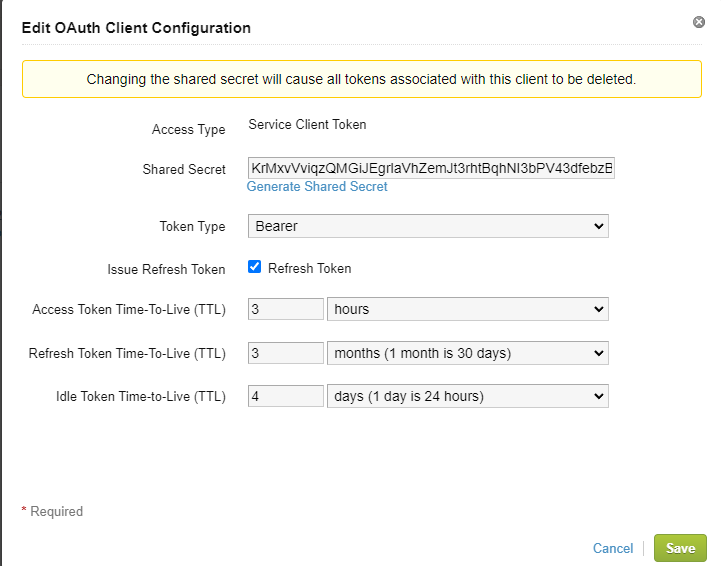
Select access type of ‘Service Client Token’
Fill in the Name of the Client ID, chose something like nsx-mgr-OAuth
Generate Shared Secret, copy it so then when we go back to Workspace One Access we can paste it in. Click Add or save
Now back to NSX-T, fill in your FQDN for your workspace one appliance.
User Management > VMware Identity Manager
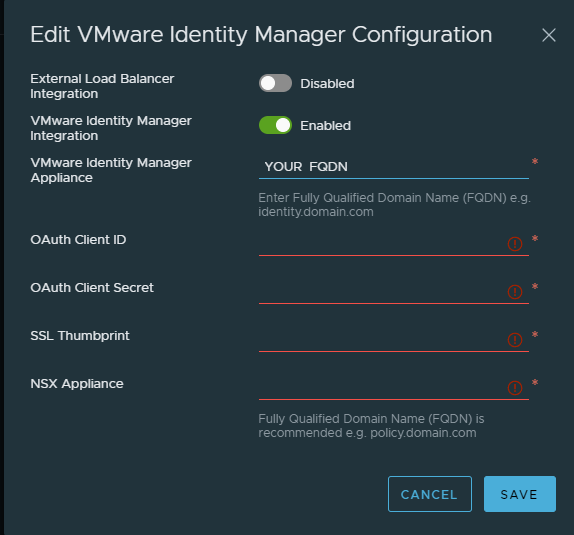
Don’t click Save yet! we need the SSL Thumbprint
SSH into your Workspace One Appliance. We will get the SSL Thumbprint.
Change directory to /usr/local/horizon/conf
If you are using a CA Signed Certificate you will need to follow the prompt below.
openssl s_client -servername workspace.yourfqdn.io -connect workspace.yourfqdn.io:443 | openssl x509 -fingerprint -sha256 -noout
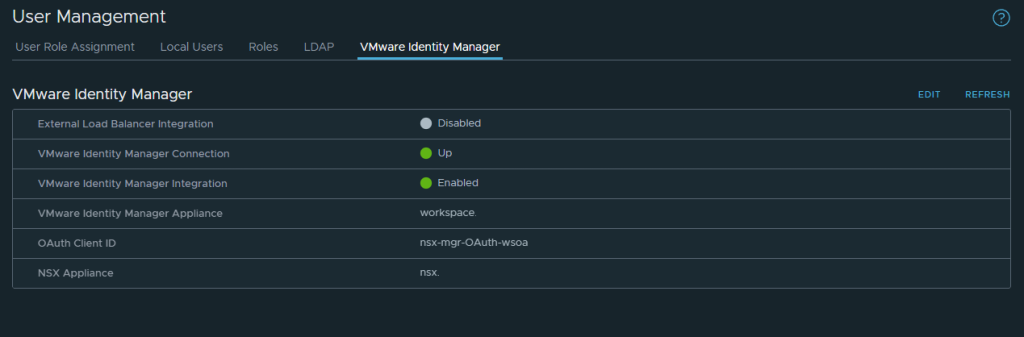
Copy and paste in the fingerprint given and click save.
Leave a Reply